How To Fine-Tune YOLO For Pose Estimation On Custom Dataset
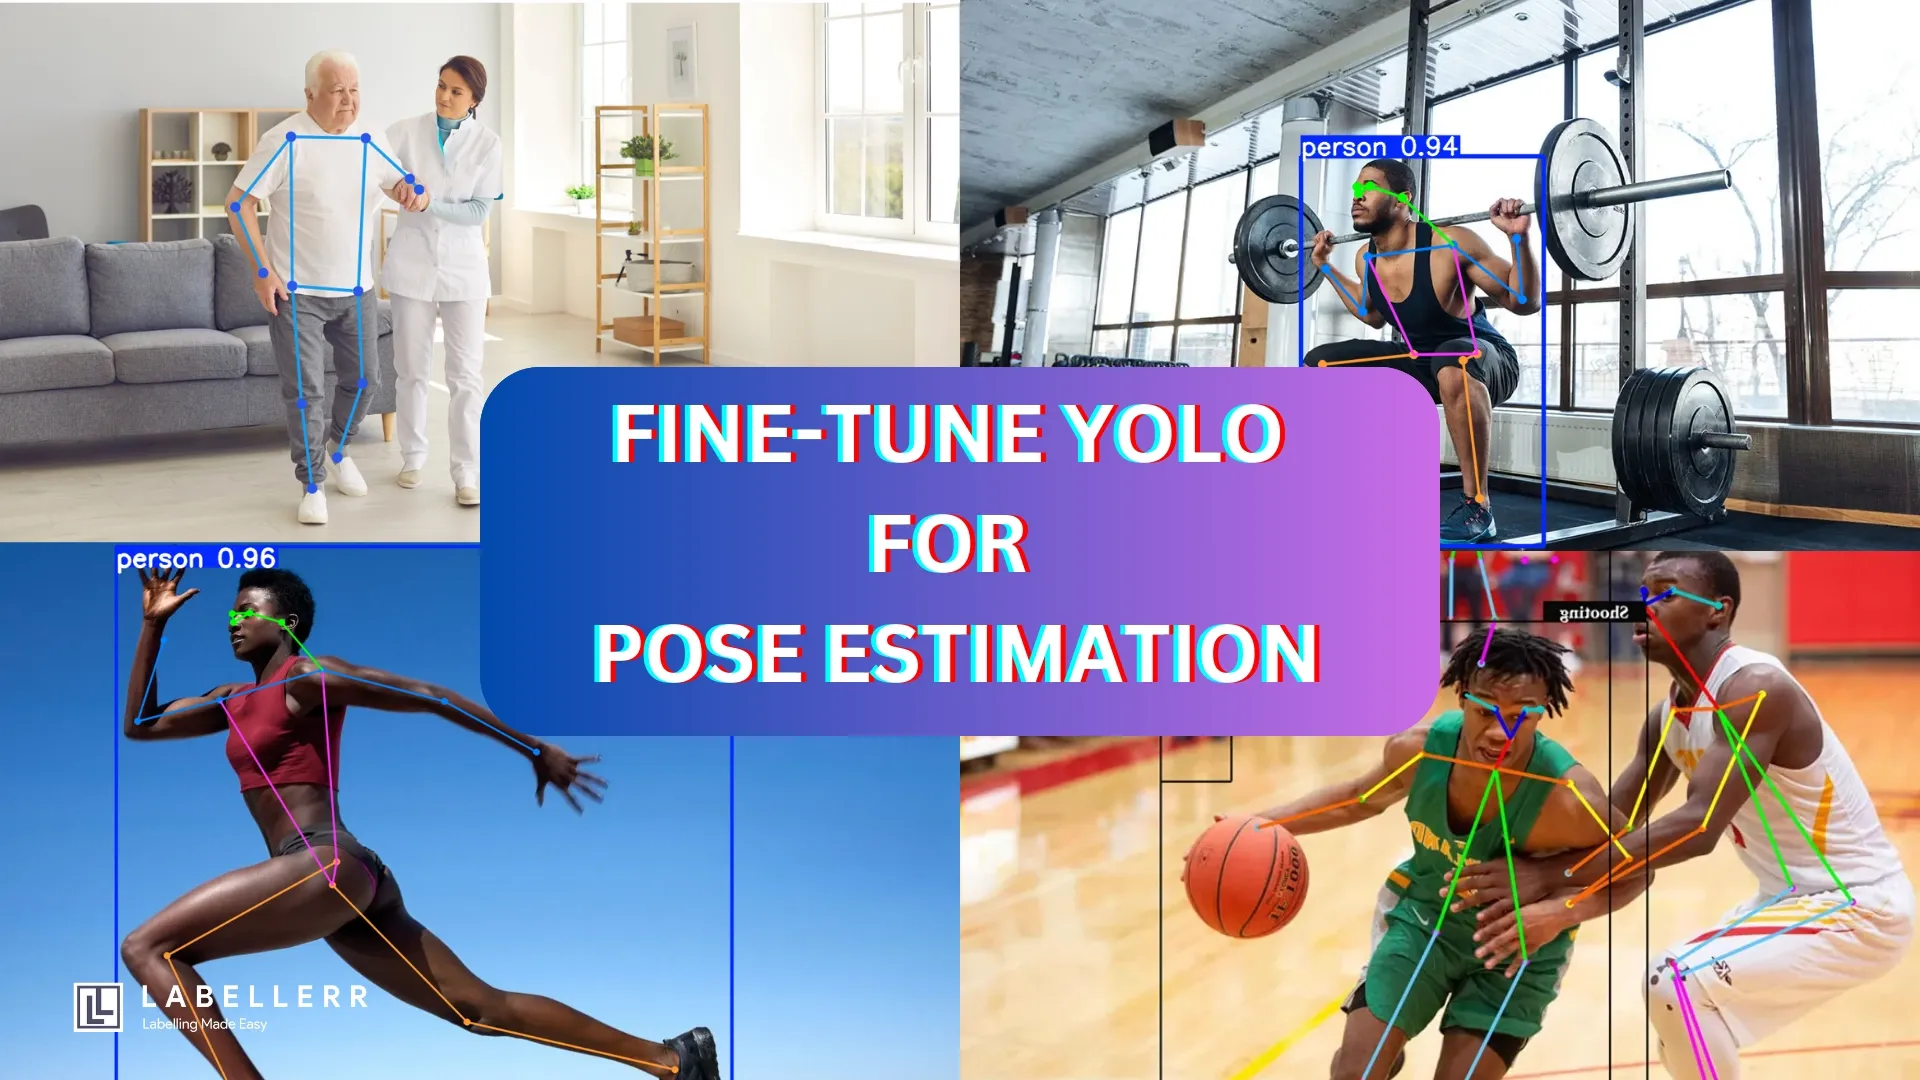
Fine-tuning YOLO for pose estimation on a custom dataset allows for precise keypoint detection tailored to specific applications like sports analytics, healthcare, and robotics. In this guide, we cover everything from dataset annotation and keypoint formatting to model training and Fine-tuning.

Can YOLO be fine-tuned for pose estimation on your specific dataset?
With the rapid advancements in deep learning, YOLO (You Only Look Once) has evolved beyond object detection to tasks like keypoint detection and pose estimation.
In fact, models like YOLO-Pose have demonstrated impressive real-time performance, achieving over 80% mAP on benchmark datasets while maintaining high FPS.
But how do you adapt it to your unique use case?
If you're an AI/ML engineer, computer vision researcher, or developer working on applications like human activity recognition, sports analytics, healthcare monitoring, or robotics, fine-tuning YOLO for pose estimation can significantly enhance accuracy for domain-specific tasks.
This guide will walk you through the end-to-end process, covering data preparation, model selection, training strategies, and evaluation techniques so you can build a robust, custom pose estimation model that outperforms generic solutions.

Which YOLO model supports pose estimation?
Currently, YOLOv8, YOLOv11, and YOLO-NAS support pose estimation.
These models can detect key points on the human body, making them useful for applications like fitness tracking, sports analysis, and healthcare monitoring.

Why is fine-tuning needed?
Fine-tuning is needed because a pre-trained YOLO model is trained on general datasets and may not work well for your specific use case.
If your dataset has unique poses, different lighting conditions, or uncommon angles, the model might struggle to detect key points accurately.
By fine-tuning, you help the model learn patterns from your data, improving accuracy and reducing errors.
Instead of training from scratch (which requires a lot of data and time), fine-tuning adjusts the existing model to understand your specific poses and environment better.
This makes the model more reliable and efficient for your task.

Fine-Tune YOLO model
Environment Setup
Before fine-tuning, set up the necessary dependencies.
!pip install torch torchvision torchaudio
!pip install ultralytics
Dataset Preparation
Create an annotated dataset according to your requirement.
You can use Labellerr's annotation software

Ensure your dataset follows the YOLO key points format:
/dataset/
│── images/
│   ├── train/
│   ├── val/
│── labels/
│   ├── train/
│   ├── val/
Each label file (.txt) contains:
<class_id> <x1> <y1> <x2> <y2> <kp1_x> <kp1_y> <kp1_v> ... <kpN_x> <kpN_y> <kpN_v>
kp_x, kp_y: Keypoint coordinates (normalized between0-1).kp_v: Visibility flag (0: not labeled,1: labeled but not visible,2: labeled & visible).
Training the Model
from ultralytics import YOLO

# Load a YOLO11x-pose model
model = YOLO("yolo11x-pose.pt") # for yolov8 use yolo8x-pose.pt

# Train the model on your own annotated dataset
model.train(data=data.yaml, epochs=100, imgsz=640, batch=16, device=0)model=yolov11x-pose.pt: Pretrained weights to initialize fine-tuning.data=data.yaml: Path to dataset configuration file.epochs=100: Number of training epochs.imgsz=640: Image input size (higher values increase accuracy but slow training).batch=16: Batch size (depends on GPU memory).device=0: Specify GPU (0for single GPU,0,1,2for multi-GPU)
Inside data.yaml
train: /path/to/train/images
val: /path/to/val/images
nc: n
names: ['nose', 'left_eye', 'right_eye', ...... 'n_name']
After fine-tuning, a 'runs' folder will be created. Your fine-tuned model will be in the weights subfolder named as ' best.pt '.
Inference & Testing
For running inference on image
!yolo predict model=runs/train/exp/weights/best.pt source=sample.jpg imgsz=640
For running inference on video
!yolo predict model=runs/train/exp/weights/best.pt source=video.mp4
Result

As shown in the image, the fine-tuned YOLO model demonstrates significantly improved pose estimation, accurately detecting yoga postures compared to the out-of-the-box version.
This improvement results from training the model on a custom dataset, enabling it to better understand the semantics of different poses.
A similar fine-tuning approach can be applied to adapt YOLO for various domain-specific applications and personalized use cases.
Conclusion
Fine-tuning YOLO for pose estimation on a custom dataset may seem complex, but following a structured approach makes it manageable.
By preparing the dataset correctly, configuring the model, and fine-tuning it with the right parameters, you can achieve accurate pose detection for your specific needs.
Evaluating the model ensures it performs well, and running inference lets you test it in real-world scenarios.
By following these steps, you can build a powerful pose estimation model tailored to your use case. Keep experimenting and refining to get the best results!
FAQ
How do I annotate my dataset for pose estimation?
You can annotate key points using tools like Labellerr, CVAT, or Roboflow. Ensure each key point is correctly labeled in the expected format (e.g., JSON or TXT ).
What type of dataset do I need for training?
Your dataset should contain images annotated with key points corresponding to body parts. The COCO format is widely used, but you can also convert it to YOLO’s keypoint format.
References

Simplify Your Data Annotation Workflow With Proven Strategies
Download the Free Guide

